Description
Notes:
- Please be aware that this item is located in a different warehouse. There will be a 4-5 dayprocessing period before dispatch (including Click & Collect). Standard delivery periods apply.
- Flexspec tiles are versatile and compatible with most equivalent models from different brands. This means they can be easily retrofitted to suit your needs.
Variant Inclusions:
- One Pack – 4 Pieces Package (4 Tiles)
- Single Garage Package(135 Tiles + 9 PP edge ramps)to suit all standard single garage.
- Double Garage Package (225 Tiles + 15 PP edge ramps) to suit all standard double garage.
*Note that you can request for a mix of colours to form your own shape or patterns as well.
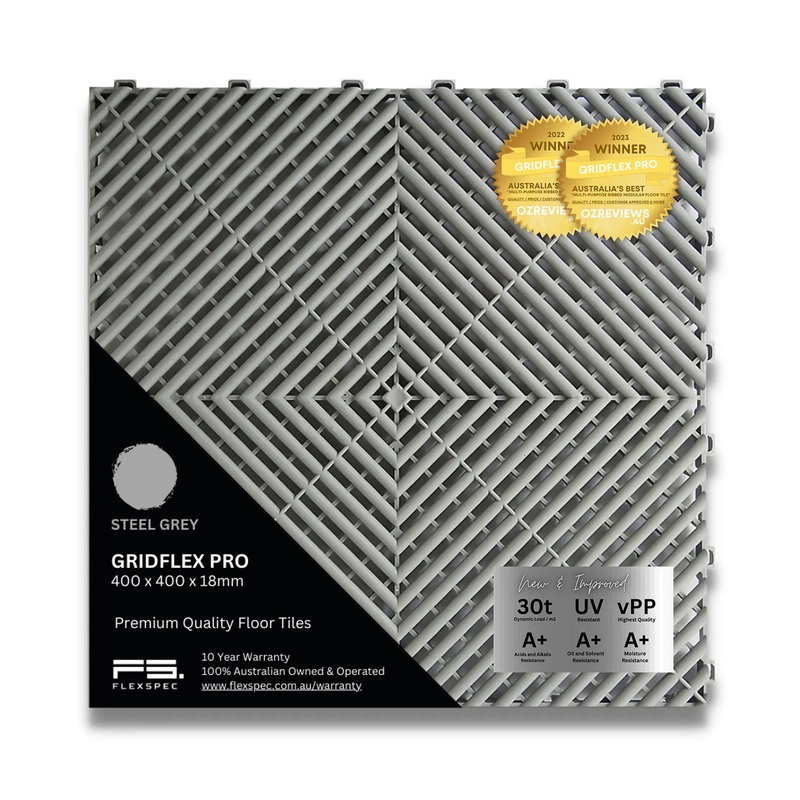
High Performance | Superior Quality | Award Winning
High-performance modular flooring solution designed to withstand even the most demanding Australian environment. With its innovative open-profile design, these interlocking tiles provide superior airflow and drainage, while also delivering exceptional durability and traction.
- Made with 100% Virgin Polypropylene with UV stabilisers mixed in, not spray on.
- The manufacturing of our tiles produces no toxic waste and no toxic emissions.
- Utilises less natural resources/energy than producing paper and cotton.
- Proudly 100% Australian owned & operated.
Available in 20+ colours, GridFlex Pro tiles are the perfect choice for garages, workshops, showrooms, and more.
- Canary Yellow
- Jet Black
- Light Ivory
- Nut Brown
- Sky Blue
- Arctic White
- Blood Red
- Forest Green
- Grass Green
- Hot Pink
- Lilac Purple
- Lime Green
- Metallic Gold
- Metallic Silver
- Mystic Purple
- Navy Blue
- Ocean Teal
- Racing Red
- Rose Gold
- Royal Blue
- Slate Grey
- Steel Grey
- Tropical Orange
Key Benefits
Ideal for various types of surfaces, indoors and outdoors
25+ year anticipated lifespan
Simple installation with minimum preparation
Low maintenance cost
Unlimited design options
Can be moved, modified and reused
Safe slip-resistant surface
Reduces dust and noise
Chemically resistant
Insulated floor from cold and dampness
Easy to maintain
Perfectly suited to Australian climate
Suitable For Multiple Applications
Garage
Decking & Patio
Home Gym
Playroom
Man Cave
Pool & Spa
Shed
Commercial
Detailing
Gym
Retail
Showroom
Warehouse
Workshop
Car Show
Event
Exhibition
Race Pit
Temporary
Tent
Trade Show
Technical Specifications
Flexspec
GridFlex Pro
Steel Grey
100% Virgin Polypropylene (PP)
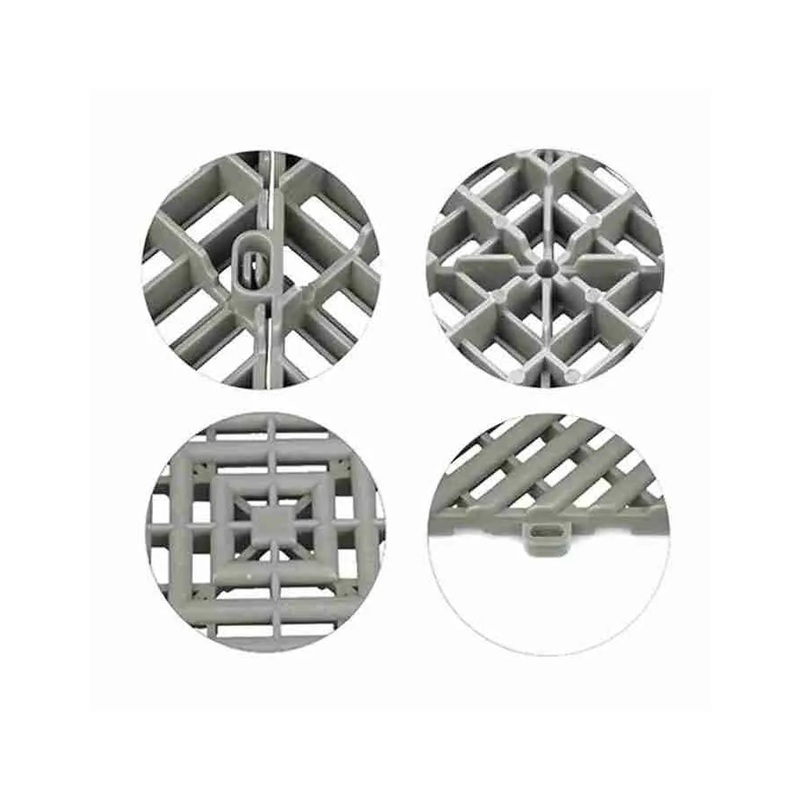
Rounded / Open Rib Design
630g
400x400x18mm
Excellent (-40C to +120C)
Excellent (UV Stabilisers)
Excellent
Excellent
Good
Excellent (Built-In Channelling System)
3,120psi / Dynamic 30 tonnes per m2 / Static 10 tones per m2
Easy
Low Carbon Footprint / 100% Recyclable
10 Years (Australian)
Installing yourself? Check our DIY Installation Guide

Step 1
Give your floor a thorough sweep to clear any dust, dirt or loose objects. This initial step ensures your floor is as clear as possible in preparation for the installation.

Step 2
Place your first floor tile down with one of either the pegged or looped sides facing your garage door (depending on if youre using male or female ramp edges). The other pegged side can go either side unless you have another doorway to the side of your garage. In this case make sure you face the other pegged side to the other doorway.

Step 3
Lay down your next tile the same way round as your first. Overlap the pegged side of your second tile onto the looped edge of the first and gently secure in place using a rubber mallet or press it down with your hand using your weight. Repeat the process until you have 2 or 3 rows of tiles across the width of your garage.

Step 4
Take your ramp sections and interlock them to the front row of floor tiles closest to your garage door. With your garage door closed, push your rows of tiles towards the inside of the door leaving a 5-10mm gap for clearance. Using the width of your garage, roughly centre your tiles on the floor in preparation for the next step.

Step 5
Measure the remaining gap either side between the edge of the tiles and your garage walls. Move your tiles left or right until you have an even gap either side. Double check your garage door closes properly. If it doesnt, just move your tiles away slightly ensuring you still have an even gap either side to your garage walls.

Step 6
Continue laying full tiles throughout your garage, making sure every tile is positioned and secured in place the same way round as you started. For example, facing your garage door from the inside, if you started with the pegs to the top and right of each floor tile, make sure you continue positioning your tiles in this way.

Step 7
Now you have all your full tiles laid, you need to fill in the surrounding areas. All of our tiles can be cut using an electrical saw such as a jigsaw, circular saw or table saw. We recommend using a fine toothed blade for a better cut and finish. When cutting your tiles it is important to leave an expansion gap of at least 5mm on all cuts. Measure each gap required and mark the tile accordingly using one of our tile marking pens or your own marker pen. Fill in and secure all your cut tiles in place using a rubber mallet.

Step 8
Now your entire flooring is laid and complete, its time to give it a quick clean to remove any dust created in the installation process.NOW YOU ARE READY TO ENJOY YOUR NEW FLOORING!

Reviews
There are no reviews yet.